Introduction
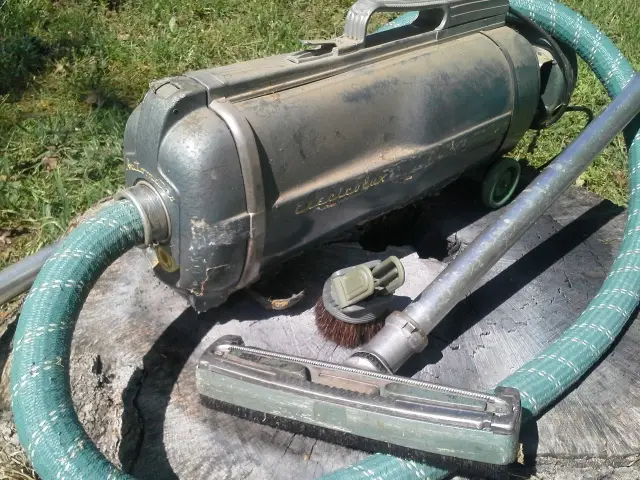
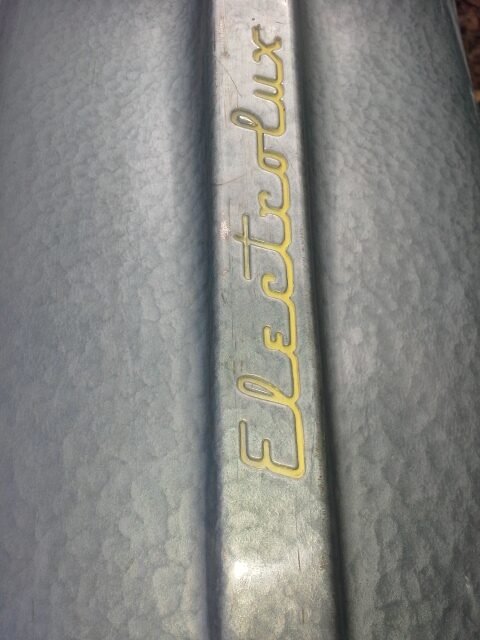
The Electrolux Model E, introduced in 1954, is a classic example of vintage vacuum cleaner design. With its sleek canister shape and durable construction, it’s a prized possession for many collectors. In this article, we’ll share the process of restoring a Model E and the challenges encountered along the way.

Initial Inspection and Purchase
I acquired my Model E at an estate sale and was immediately impressed by its retro appeal. The canister’s design reminded me of a 1954 Chevy Bel Air. Despite its age, the vacuum seemed to be in decent condition.

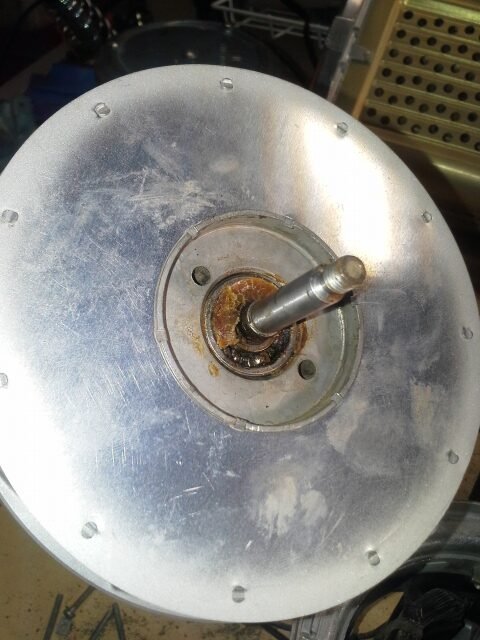
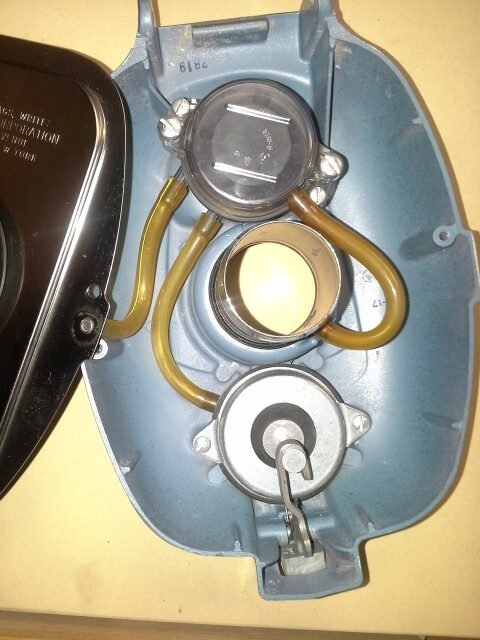
Disassembly and Cleaning
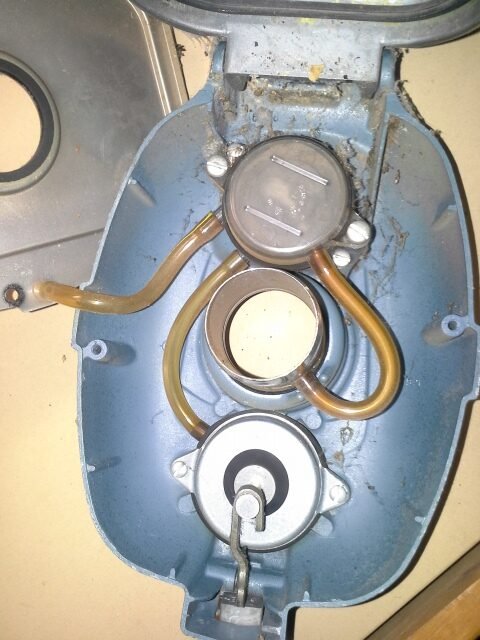
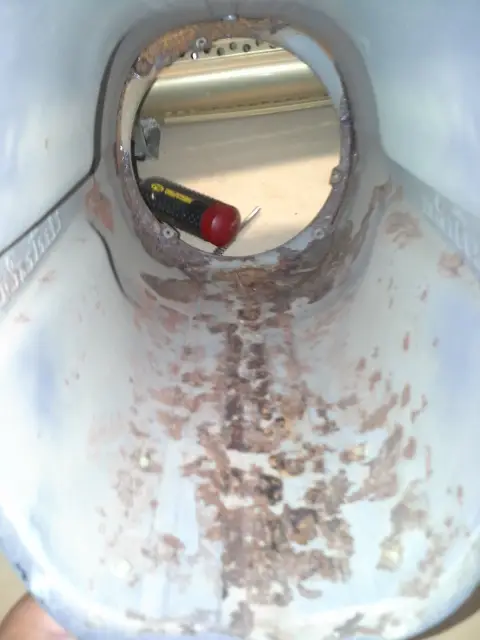
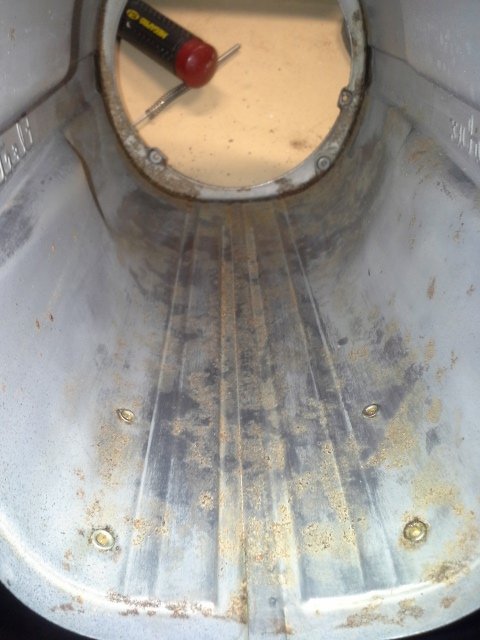
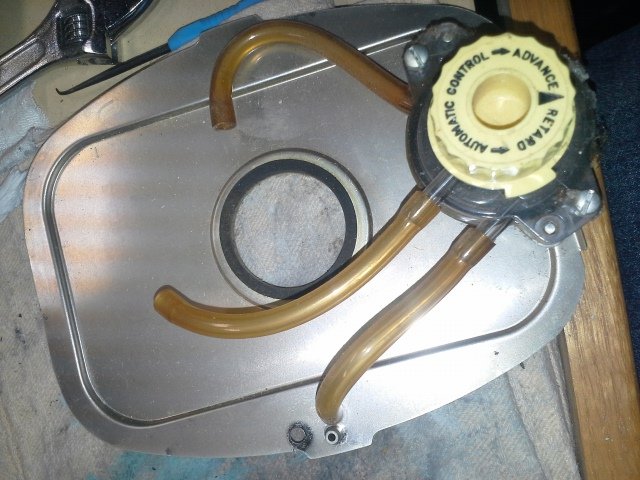
Upon disassembling the vacuum, I discovered that it was quite dusty and had some rust inside the canister, likely from accidentally vacuuming up water. To address these issues, I:
- Removed rust: Used rust remover and a wire brush to clean the canister.
- Repainted the canister: Applied a fresh coat of paint to prevent future rust.
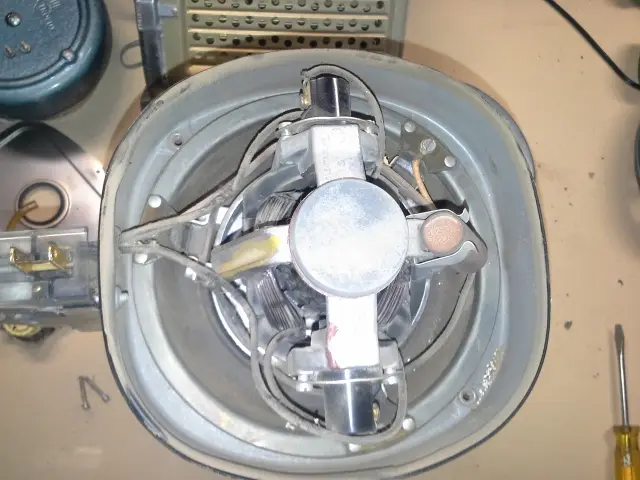
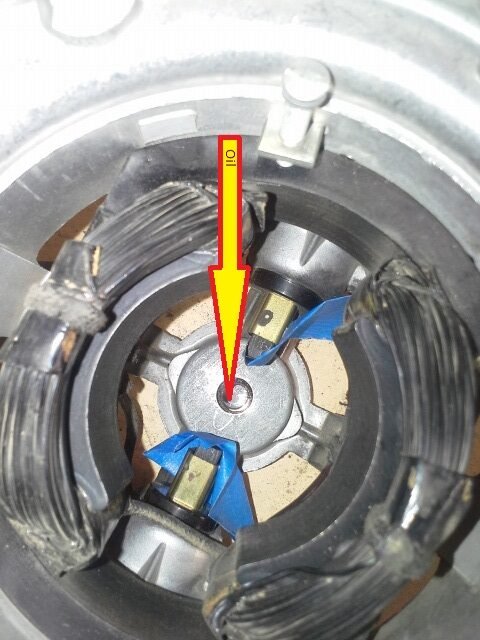
- Cleaned the motor: Removed dust and old grease from the motor using a soft brush and degreaser.
- Lubricated the motor: Reapplied grease and oil to the ball bearings and commutator.
- Inspected the motor components: Ensured the armature stack, commutator bar, and carbon brushes were in good condition.
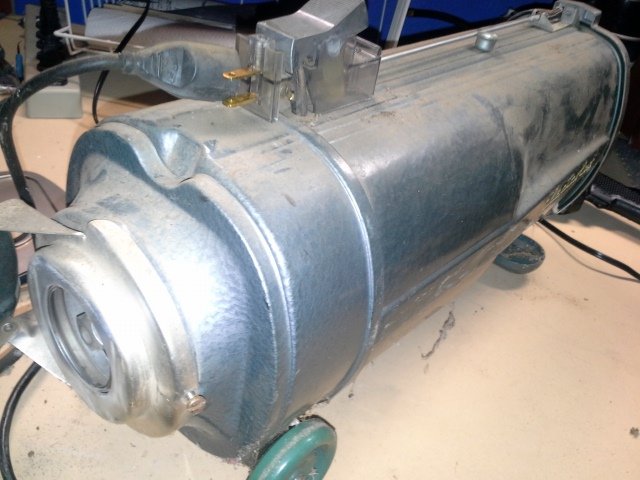
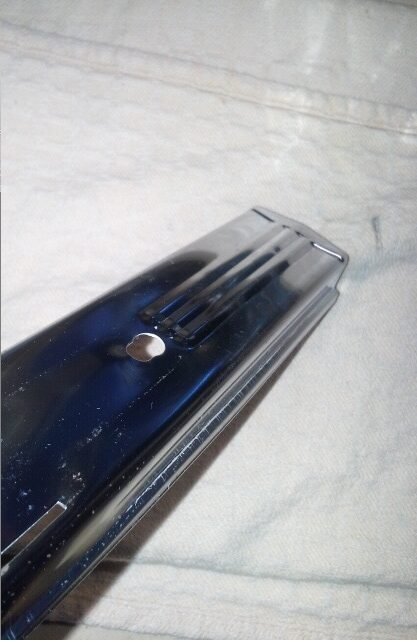
Exterior Restoration
To restore the vacuum’s exterior, I:
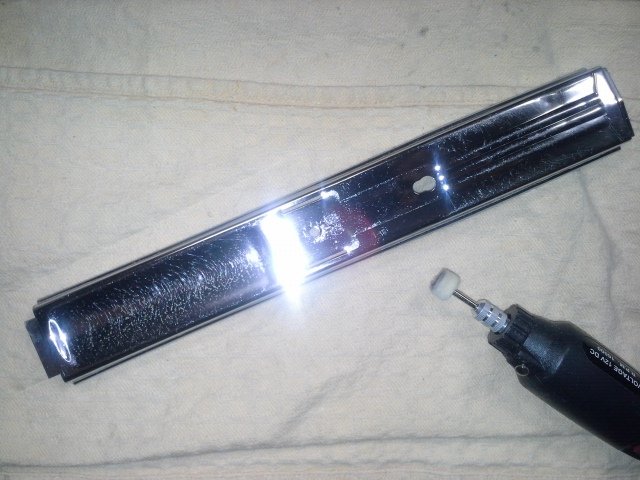
- Removed markings: Lightly sanded the painted areas to remove scuffs and marks.
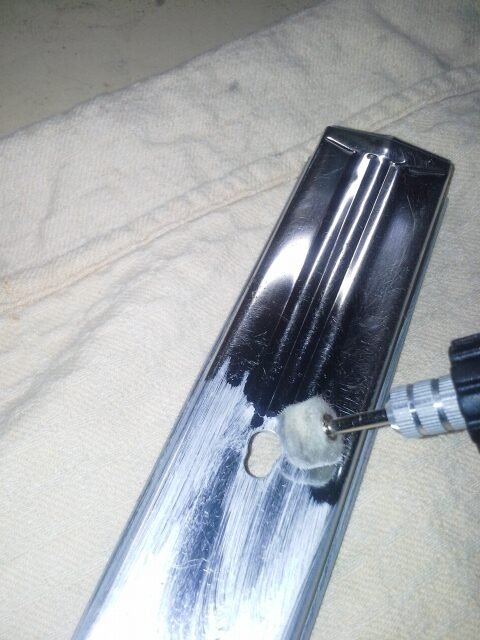
- Polished the chrome: Used a Dremel drill polisher to restore the chrome parts to their original shine.
- Cleaned the wheels: Applied a cleaning solution to the wheels.

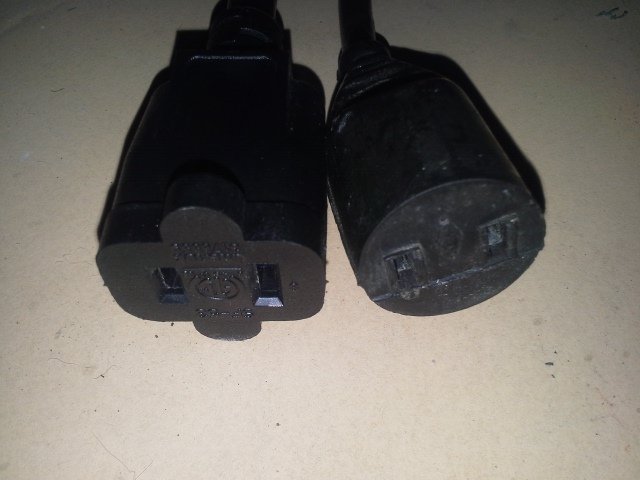
Power Cord Replacement
The most significant challenge I faced was replacing the power cord. The original wire was damaged, and I couldn’t find a replacement that matched the original style. As a result, I had to use a modern rectangular-shaped plug. While this was not ideal, it ensured the vacuum’s safety.
Final Assembly and Testing
After cleaning and repairing all the components, I reassembled the vacuum. I tested the suction, cleaned the exterior, and was pleased with the results.

Conclusion
Restoring a vintage vacuum like the Electrolux Model E can be a rewarding experience. While there may be challenges, the satisfaction of bringing an old appliance back to life is immense.
Vacuum Restoration Techniques and Tools
Techniques:
- Disassembly: Carefully disassemble the vacuum, noting the location and order of each part.
- Cleaning: Use a vacuum cleaner, brush, and degreaser to remove dust, dirt, and grease.
- Rust removal: Apply rust remover to affected areas and use a wire brush to scrub.
- Repainting: Prepare the surface by sanding and cleaning, then apply a coat of primer followed by paint.
- Lubrication: Apply appropriate lubricants to moving parts, such as motor bearings and gears.
- Motor repair: If the motor is damaged, you may need to replace components or seek professional assistance.
- Power cord replacement: Carefully disconnect the old cord, strip the wires, and connect them to the new cord using a crimping tool.
- Exterior restoration: Use sandpaper, polishing compound, and wax to restore the vacuum’s appearance.
Additional Tips:
- Take pictures: Document the disassembly process to help with reassembly.
- Be patient: Restoration can be time-consuming, so be prepared to invest effort.
- Seek professional help: If you’re unsure about a particular task, consider consulting a professional technician.
- Use protective gear: Wear gloves and a mask to protect yourself from dust and chemicals.
Tools:
- Screwdrivers: A variety of sizes and types, including flat-head and Phillips.
- Pliers: For gripping and twisting small parts.
- Tweezers: For delicate tasks like removing dust or small pieces.
- Vacuum cleaner: To remove dust and debris from the restoration area.
- Brush: A soft-bristled brush for cleaning delicate components.
- Degreaser: For removing grease and grime from the motor and other parts.
- Rust remover: For treating rust on metal components.
- Paint and brushes: For repainting damaged parts.
- Sandpaper: For smoothing surfaces and removing rust.
- Polishing compound: For restoring shine to chrome or metal parts.
- Wax: For protecting painted surfaces.
- Wire cutters: For cutting wires during power cord replacement.
- Wire stripper: For removing insulation from wires.
- Crimping tool: For connecting wires.
By following these techniques and using the appropriate tools, you can successfully restore your vintage vacuum cleaner to its former glory.
Random Vlog Time is a participant in the Amazon Services LLC Associates Program, an affiliate advertising program designed to provide a means for sites to earn advertising fees by advertising and linking to Amazon.com.